No matter how carefully you drive, you’ll have to deal with the hassle of a flat tire sooner or later. Here’s how to properly change one.
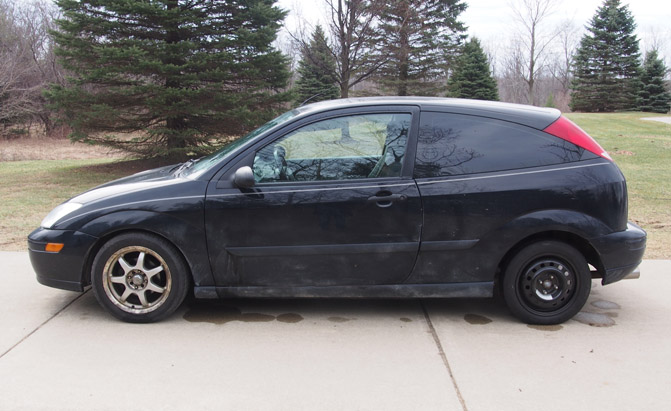
The valuable techniques listed below are demonstrated on a clapped-out hooptie, but they’re just as applicable to newer, nicer vehicles that sane people drive. Hopefully, you gain something from this step-by-step guide, even if it’s just a new-found appreciation for rust and corrosion.
1. Be Prepared
It’s always a good idea to be prepared, whether it’s keeping a first-aid kit in your vehicle or boots, a blanket and shovel on hand in winter months. A small amount of planning can mean the difference between reaching your destination and calling for an expensive tow, or worse.
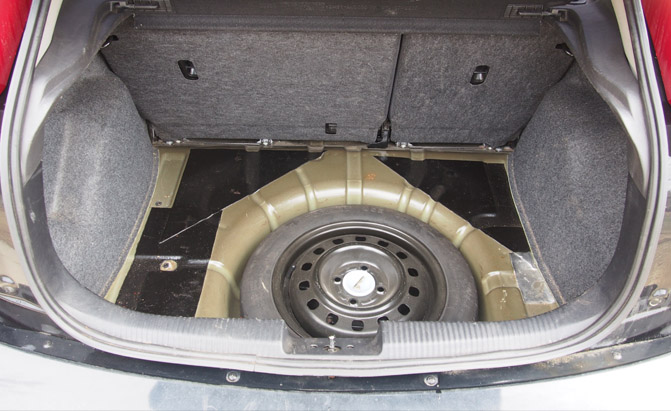
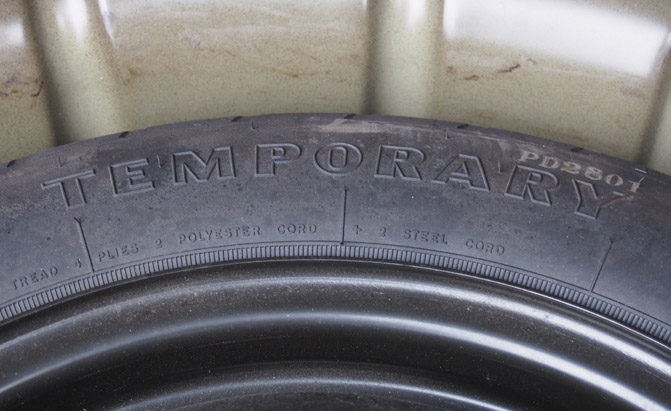
Along with those items, it’s also smart to keep a few basic tools in your trunk and an eye on your vehicle’s spare tire. If applicable, check it periodically to make sure it has the appropriate air pressure and isn’t flat, though this doesn’t apply to all of cars. In a bid to cut weight, many modern vehicles lack temporary spares. Instead, they come with inflation kits or even run-flat tires.
SEE ALSO: What I Learned at Performance-Driving School
The same is true for the rest of your ride’s rubber. Keep an eye on all of its tires and try to check the pressure once a month, as they will naturally lose air over time. And of course, check them immediately if the tire-pressure warning light illuminates.
2. Find a Safe Place to Stop
But let’s say one of your car’s steel-belted radials has picked up a nasty piece of shrapnel and can no longer support itself. As soon as you feel the vehicle start to vibrate, shake, or slide around in its lane of travel, prime indicators that something is awry, pull over in a safe spot as soon as possible. Driving on a flat tire is not only uncomfortable and dangerous, but it can also destroy an otherwise repairable tire and even damage the rim, which could cost big bucks to replace.
SEE ALSO: Why You Should Buy Your Next Car at Costco
When you do stop, it’s best to find a parking lot or similar open area, but if that’s not an option, make sure to pull as far over as you can to lessen the likelihood of getting struck by other traffic. Also, it’s smart to avoid steep hills, blind corners and busy interstates if possible.
3. Unpack and Undo
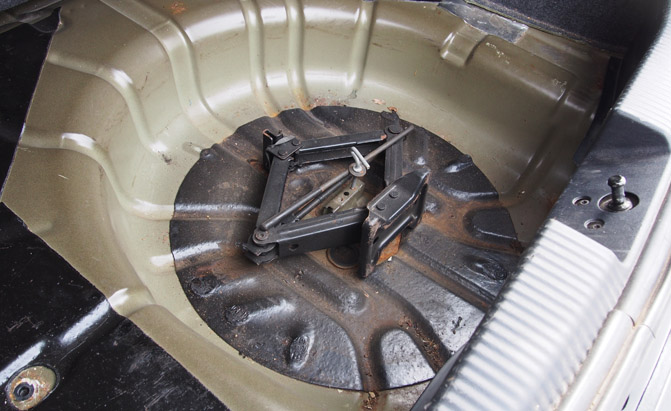
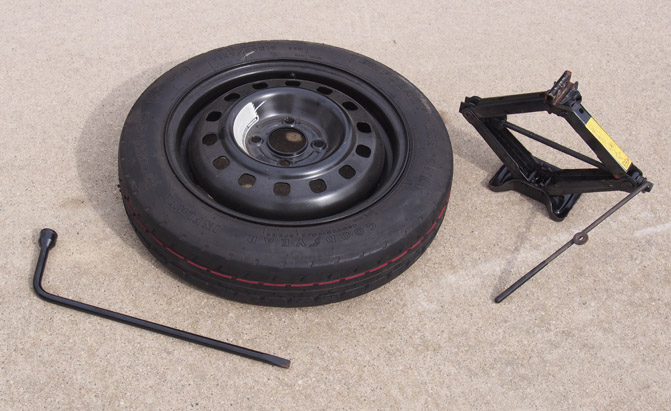
With your vehicle safely parked, you now need to unpack your jack and spare. If you’re prepared (see point No. 1 above), you’ll already be familiar with the location of your vehicle’s backup tire and the operation of its jack.
With the necessary hardware at hand, now is the time to remove any hubcap or wheel trim that’s blocking access to the lug nuts, though this does not apply to every vehicle out there.
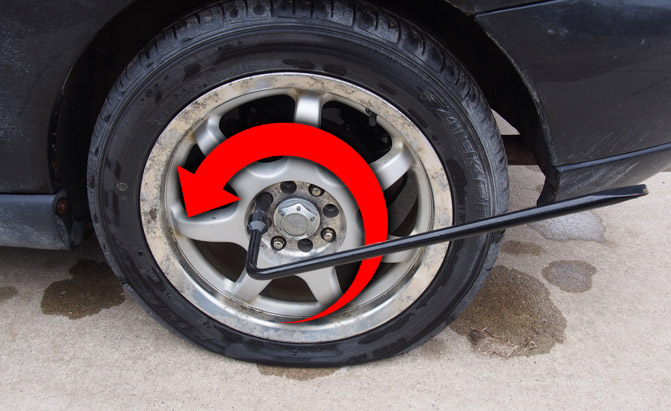
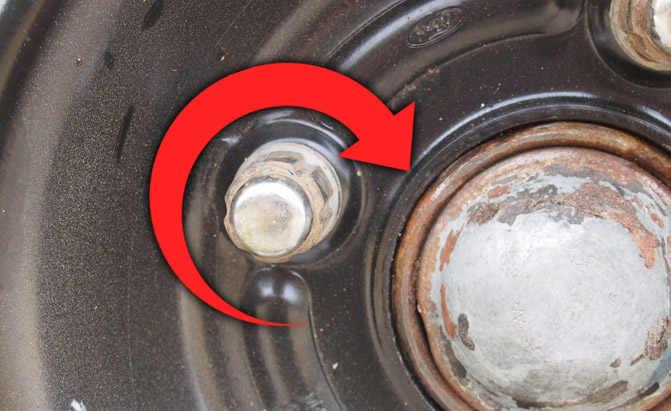
Next, you want to break each lug nut loose BEFORE jacking. This puts the car or truck’s weight to good use, preventing the wheel from spinning as you loosen things. Keep in mind, you don’t want to completely remove the nuts, just loosen them so they come off easily once the vehicle is jacked up. Lastly, it’s righty tighty, lefty loosey.
4. Lift ‘Er Up
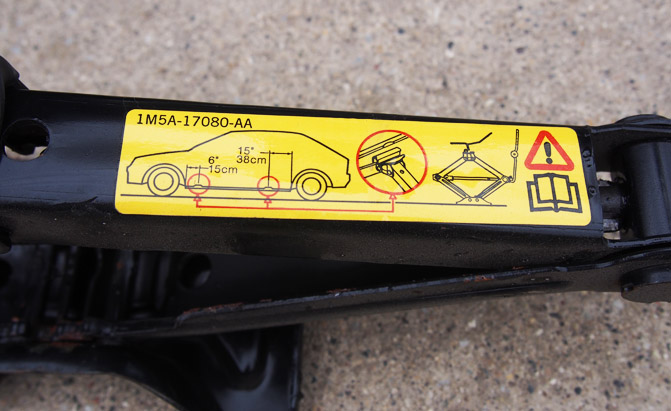
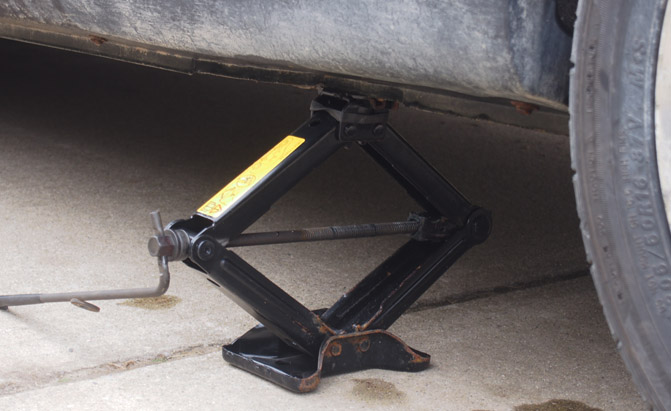
With the lug nuts free, it’s now time to lift the vehicle. But where does the jack go? Well, if you’re prepared (again, see point No. 1) you’ll have already skimmed through your vehicle’s owner’s manual to find out where the manufacturer recommends lifting from. But if you haven’t done this all is not lost.
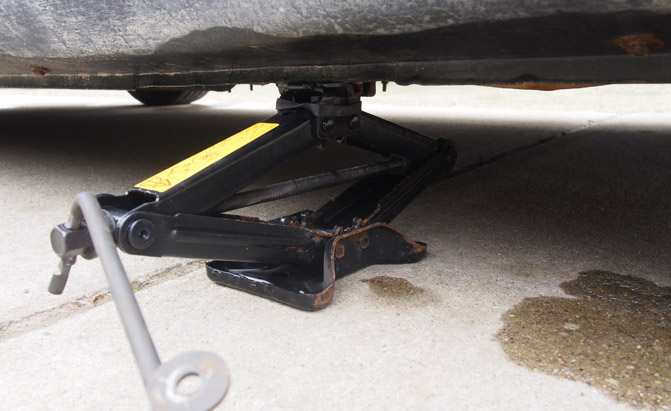
Generally, jacking from the welded seam running along the bottom of the rocker panels is perfectly fine, though many vehicles will have special jacking locations. If you drive a truck you can even use the frame, which is a rock solid spot. Control arms and axles are OK in a pinch, but it’s smarter to use approved locations.
Wherever you decide to jack (get your mind out of the gutter), make sure it’s in a sturdy place, both for safety and to avoid damaging any plastic trim that may be dressing up the lower portions of your vehicle.
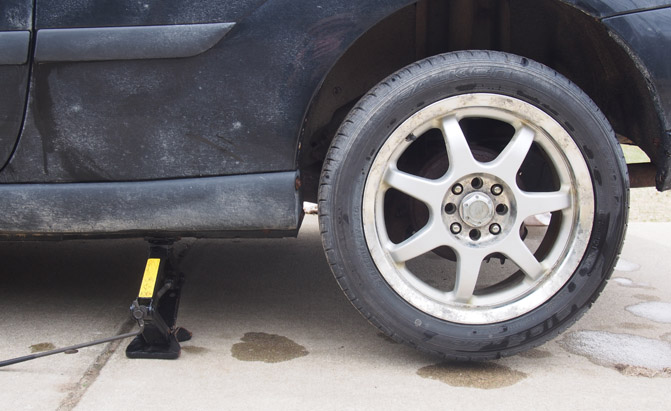
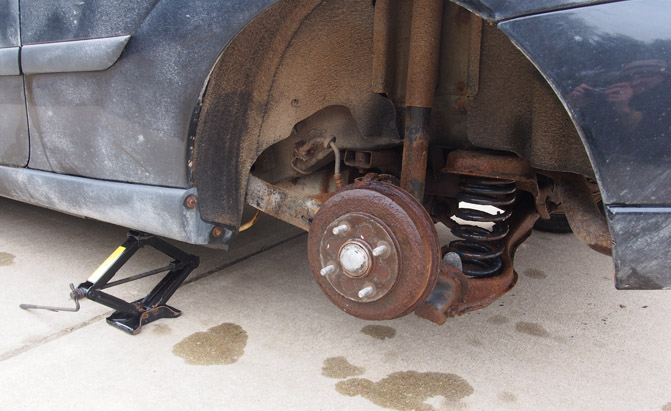
While jacking your car or truck, make sure to lift it high enough that the wheel comes off the ground with plenty of clearance. If your vehicle has a full-size spare, the inflated tire will be larger in diameter than the flat one you just removed, meaning you have to lift it a bit higher to provide enough space.
Not that you should need to, but NEVER UNDER ANY CIRCUMSTANCE crawl underneath the vehicle when it’s only supported by a jack, especially a temporary one. They can slip, collapse or sink into the ground, all of which could crush you under tons of automobile.
5. Attach and Drop
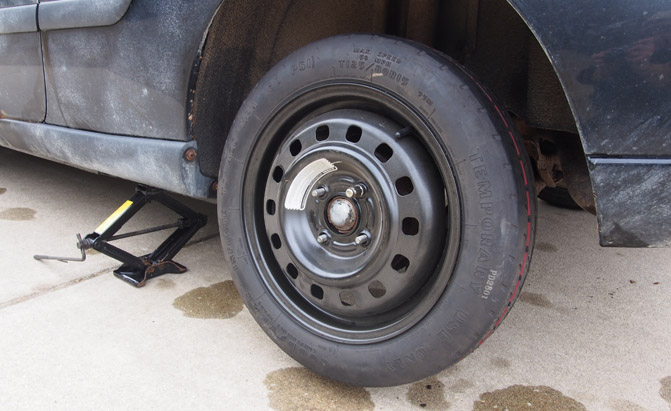
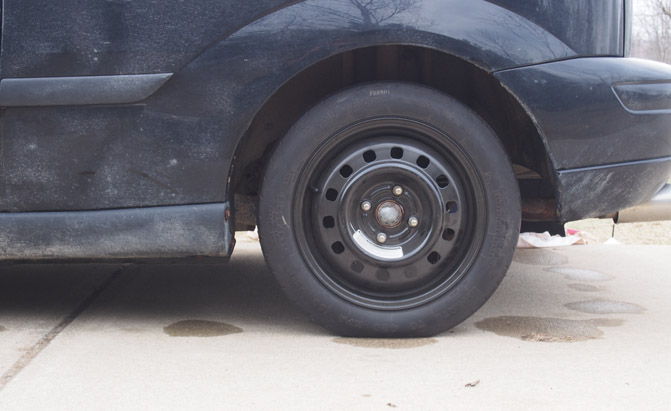
Now that the offending flat tire has been removed, it’s time to reinstall the spare. Simply lift it up and push it into place, ensuring all the studs align with the rim’s openings. Next, run a lug nut down to hold it in place, taking care not to cross thread it. After this, you can put the rest of the nuts on and snug them up finger tight, then torque them down as much as you can with the wrench, though it won’t be much because the wheel will want to spin.
After this is done, ensure nothing is left underneath your vehicle, then carefully lower it back to terra firma. With the jack safely out of the way you can tighten the lug nuts in a crisscross pattern for even torque distribution. They don’t have to be He-Man tight, but try to make them evenly snug.
6. Mind your Speed
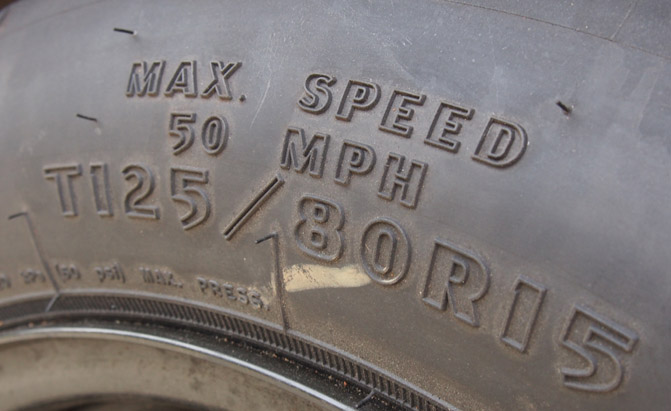
Finally, with everything put back, you can continue on your way. But be warned, many compact spare tires are speed limited to around 50 miles an hour, meaning it’s prudent to take things easy. These tires are designed for emergency use only, not sustained driving at Autobahn speeds. Additionally, with mismatched rubber, your car or truck may not handle or brake as securely as it would with four identical tires, so be aware of potential changes to the way it behaves. Also, now is a good time to look for a repair shop to see about getting the offending tire patched up. With any luck, it won’t need to be replaced.


